Previous page: Scanning and cleaning your Windows machine with Ad-Aware
Compared to Ad-Aware, Spybot is much easier to set up and its scanning and cleaning process is faster. So let me show you how to use it!
5.1 Download Spybot - Search & Destroy from Download.com. The size of the installer is 4.8 MB. Once the download is complete, double-click on the spybotsd14.exe file to start the installation process.

5.2 The installer will ask you to pick a language that will be used during the setup. Pick one and click OK.

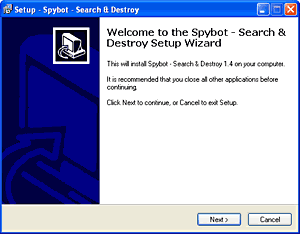
5.3 Before proceeding, close any programs that you might have running. And also, make sure to have an active connection to the Internet, because program components will need to be downloaded during installation and also the updates for spyware-related information later. Click Next.
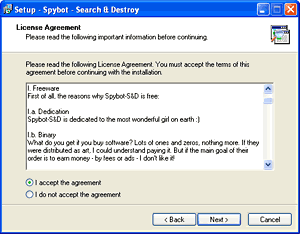
5.4 Now comes the legal stuff — read it! Unlike 99% of programs out there, the license agreement for Spybot - S & D is funny and by reading it you can see that the author is a really nice fellow (he also explains why the program is free to use). Select The "I accept the agreement" option and click Next.
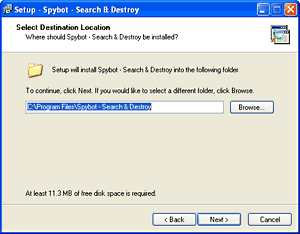
5.5 The installer will now ask you where would you like to install Spybot. In the same way as you did with Ad-Aware, I recommend that you leave the default location suggested by the installer. Click the Next button to proceed.
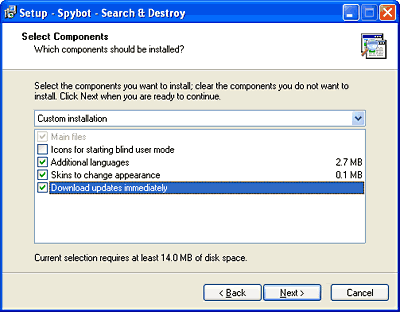
5.6 The installer will now give you a list of program components that will be installed with Spybot. I strongly recommend that you check the "Download updates immediately" option. This will make possible for Spybot to update itself immediately upon the completion of the installation, making sure that you have the latest spyware search definitions etc. The Additional languages and Skins options can be left checked, as they don't occupy much disk space and they can be useful. Click Next to continue.
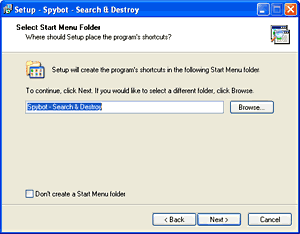
5.7 The installer prompts you to select a place where Spybot's shortcuts will be placed. Leave the default location and click Next.
5.8 At this point, you can select some additional protection for your system that Spybot can take care of. If Internet Explorer is your browser of choice, you can check the option to Use Internet Explorer protection (SDHelper). I prefer Firefox, which tends to collect way less spyware when I'm surfing the Web, so I left this option unchecked. Also, you may consider turning on the Use system settings protection (TeaTimer) option. If you have a good antivirus program installed on your system, this isn't really necessary.
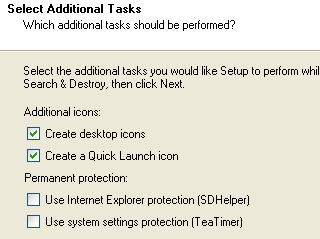
If you'd like to add one more icon to your desktop, leave the appropriate option checked. The same applies for the Quick Launch icon option. When done, click the Next button.
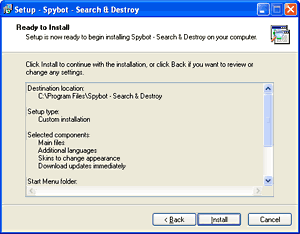
5.9 Every option that you chose so far is shown by the installer. If you are satisified with the selected options, click the Install button to start the installation process.
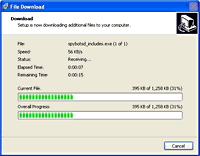
5.10 The download process will begin now, where you can see the remaining time before all Spybot's components are downloaded to your computer.
5.11 Now comes an important part: the installer is prompting you to select a location where the spyware detection rules will be downloaded. Leave the default location, to avoid any possible problems. These detection rules are crucial for Spybot in order to perform a successful spyware/adware search & destroy operation. Without having the newest information on spyware, Spybot isn't very useful, much like an outdated antivirus program. Click Install to continue.
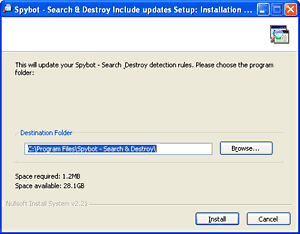
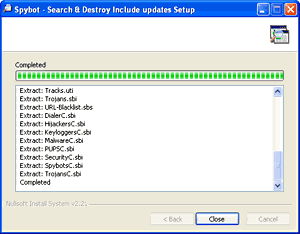
5.12 Once the installation is complete, you can click the Show details button if you want to see what detection rules were downloaded and installed by Spybot. Click the Close button.
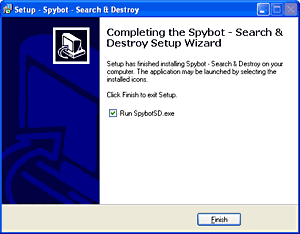
5.13 The final step of the installation is here: be sure that the "Run SpybotSD.exe" option is checked. Next, click the Finish button to proceed.
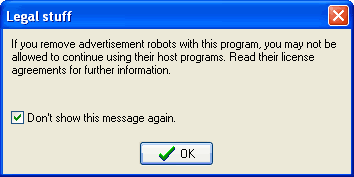
5.14 As a final warning, Spybot notifies you that the removal of advertising robots (i.e. adware garbage) may disabel the use of their host programs. Personally, if I find out that a program I have installed on my computer is using advertising robots, I uninstall it promptly and erase any files associated with it. Check the option to hide this notice in the future (otherwise it will be displayed every time you start SpyBot which is annoying) and click the OK button.
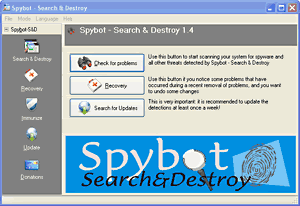
5.15 Pay close attention to this and the next few steps: The Spybot main window will show up, but you still can't use it. Read below why.
5.16 To the left and up from the main Spybot window, a smaller window will appear:
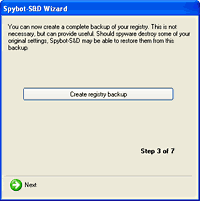
Here, Spybot is offering you to make a backup of your system registry. This is very important, for the following reasons:
- While scanning for spyware, Spybot is making a thorough search of your registry for any signs of infection.
- The registry is the heart of the Windows operating system. It is here that the information on every program that you have ever installed or used is being stored.
- The registry manages the processes that are being executed at Windows startup. These can include malicious ones, if malware found a way to infiltrate the registry.
- Once the scan is over, you will be prompted to remove the spyware if any was found. This includes the one found in the registry.
So if the registry gets damaged in any way or another, your computer might experience severe problems or may even become unable to start Windows. Spybot is able to repair any damages caused to the registry from spyware/malware by restoring the original information from the backup. Although a complete spyware disaster scenario is unlikely to happen in majority of cases, making a backup of your registry is a good safety precaution. Before doing that, check out the following:
- No other programs than Spybot should be running.
- Turn of your screensaver if you have it enabled.
- Don't do anything with your computer until the backup process is over — Spybot might crash!
5.17 Click the Create registry backup button.
![]()
Now, Spybot will begin the backup process, although this won't be visible. You just have to wait for a few minutes until the process is completed. How do you know that this process is actually running? Well, the Next button (see below) will become greyed-out and unclickable.
![]()
5.18 The Windows registry backup is complete only when you see this button become active (green) again. Spybot will not advance to the next step by itself, so do not make the mistake of clicking the Create registry backup button again, just click the green Next button.
5.19 Click the Search for updates button to make Spybot look out for any available updates.
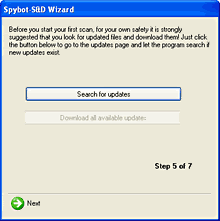
5.20 After the search was performed, you will notice that the main program window is displaying all the available updates.
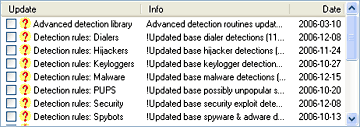
5.21 Instead of trying to select everything in the main Spybot window, go back to the small window and click the Download all available updates button.
![]()
Once this is over, Spybot will close and restart itself to integrate the new spyware search data.
How to find and remove spyware and adware with Spybot - Search & Destroy
1 comment:
cheapest uk supplier viagra viagra from canada bad side effects of viagra watermelon viagra viagra faq viagra overdose buying viagra online viagra blood pressure cialis levia and viagra buy cheap viagra online uk viagra free sites computer find cialis vs viagra guaranteed cheapest viagra viagra for cheap
Post a Comment